Product Pictures
Product Feature
- With its own shell
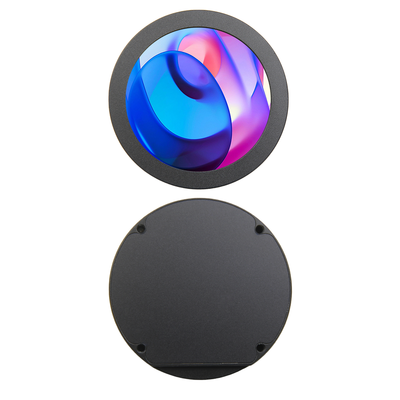
- ○The shell is made of integrated aluminum material, which is CNC carved as a whole, with a round and smooth texture,quisitely carved
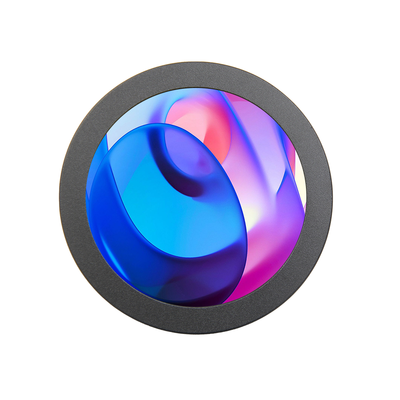
- 2.8 inch round display
- ○The viewing Angle is large
- ○true color
- ○Dynamic picture quality is excellent
- ○Energy saving and environmental protection
- HDMI interface
- ○Can be used as HDMI display
- Support for multiple device access
- ○ Can be connected to Raspberry Pi, PC, and other devices
- Support for multiple system displays
- ○Used as a raspberry pi display that supports Raspberry Pi OS, Ubuntu, Kali-Linux, win10 IOT
- ○Work as a PC monitor, support win7, win10, win11 system , free drive
Accessories
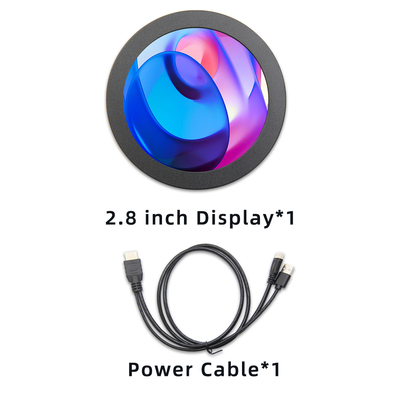
- MiniHDMI-HDMI+USB Linex 1
Product description
- Product parameters
| Product | parameters |
|---|---|
| SKU | MPC2809 |
| Display type | IPS |
| Display size | 2.8inch |
| Driving IC | ST7701S |
| Field of view | ALL 0’ CLOCK |
| Resolution | 480RGB x 480Dots |
| Pixel Pitch | 0.1461 x 0.1462 (mm) |
| Luminance(TYP) | 250Cd/m2 |
| Power Voltage | 5.0V |
| Total Power | 0.9W |
| Video Input Interface | Mini HDMI |
| Active Area | 70.13(W) x70.13(H) |
| Outline Size | 89.50(W ) ×89.50(H)×10.00(T) |
| Weight(including package) |
- Interface Description
| Symbol | Function Description |
|---|---|
| POWER | Use the Type-C-USB connection cable to connect the interface, which is only used for power supply |
| MiniHDMI | For HDMI high-definition video input, connect the main device with a Mini HDMI cable |
| Backlight | Use the card pin to insert into the switch inside the press hole to adjust the brightness, press once to increase the brightness by 10%, long to turn off the screen |
For computer HDMI display
This product can be used as a HDMI monitor for Windows computers. Just connect the HDMI interface and the POWER interface, and it can display normally
For Raspberry Pi
Step 1, download the latest official mirror image
- 1)Download the official Raspberry image
- Website:https://www.raspberrypi.org/downloads/raspbian/
- Username:pi password:raspberry
- 2)Download the officialUbuntu Mate image
- Website:https://ubuntu-mate.org/download/
- Username and password can be set by yourself after startup
- 3) Download the official Kali Linux ARM image
- Website:https://www.offensive-security.com/kali-linux-arm-images/
- Username:kali password:kali
- 4) Download the official RetroPie image
- Website:https://retropie.org.uk/download/
- Username:pi password:raspberry
Step 2, Burn the official image
- 1) Download and install the tool software (if already installed, this step can be ignored)
- SD card formatting software SDFormatter download link:
- https://www.sdcard.org/downloads/formatter_4/
- Image burning software Win32DiskImager download link:
- https://sourceforge.net/projects/win32diskimager/
: 2) Format the SD card
- Insert the SD card into the card reader -> plug the card reader into the computer -> open the SDFormatter software -> select the SD card -> select Quick format
- (Generally choose quick format, other options can be chosen according to your own needs) -> click the Format button -> select "Yes" -> click OK after formatting is complete.
3) Burn the image
- Open the Win32DiskImager software -> select the image file (xxx.img) that needs to be burned -> select the SD card -> click the "write" button ->
- select "Yes" -> wait for the burning to complete (the whole process lasts about 10 minutes)
Step 3, Modify the "config.txt" configuration file
- Modification method
- Open the config.txt file in the root directory of the Micro SD card and add the following code at the end of the file, save and safely eject the Micro SD card:
max_usb_current=1
hdmi_force_hotplug=1
config_hdmi_boost=7
hdmi_group=2
hdmi_mode=87
hdmi_drive=1
hdmi_cvt 480 480 60 6 0 0 0
- Insert the Micro SD card into the Raspberry Pi, connect the HDMI cable to the Raspberry Pi and the LCD, connect the USB cable to any of the4 USB ports of the Raspberry Pi, and connect the other end of the USB cable to the USB port of the LCD, then power on the Raspberry Pi, if display is normal, the driver is successful (please use a sufficient 2A power supply)
Step 4, insert the SD card
- After completing the above steps, eject the SD card from the computer and then insert it into the SD card slot on the back of the Raspberry Pi
Step 5, run the system
- Connect the HDMI interface and TOUCH interface of the display to the Raspberry Pi, and connect the power supply of the Raspberry Pi to start it up. It display normally
Resource
- Document
- How to install LCD driver-V1.2
- How_to_use_Raspberry_Pi(Download,Format,Burn,SSH,PuTTy)-V1.0
- http://www.lcdwiki.com/res/PublicFile/How to set up dual screen display with HDMI module - V1.0.pdf
- MPC2809 Product Size
- software


